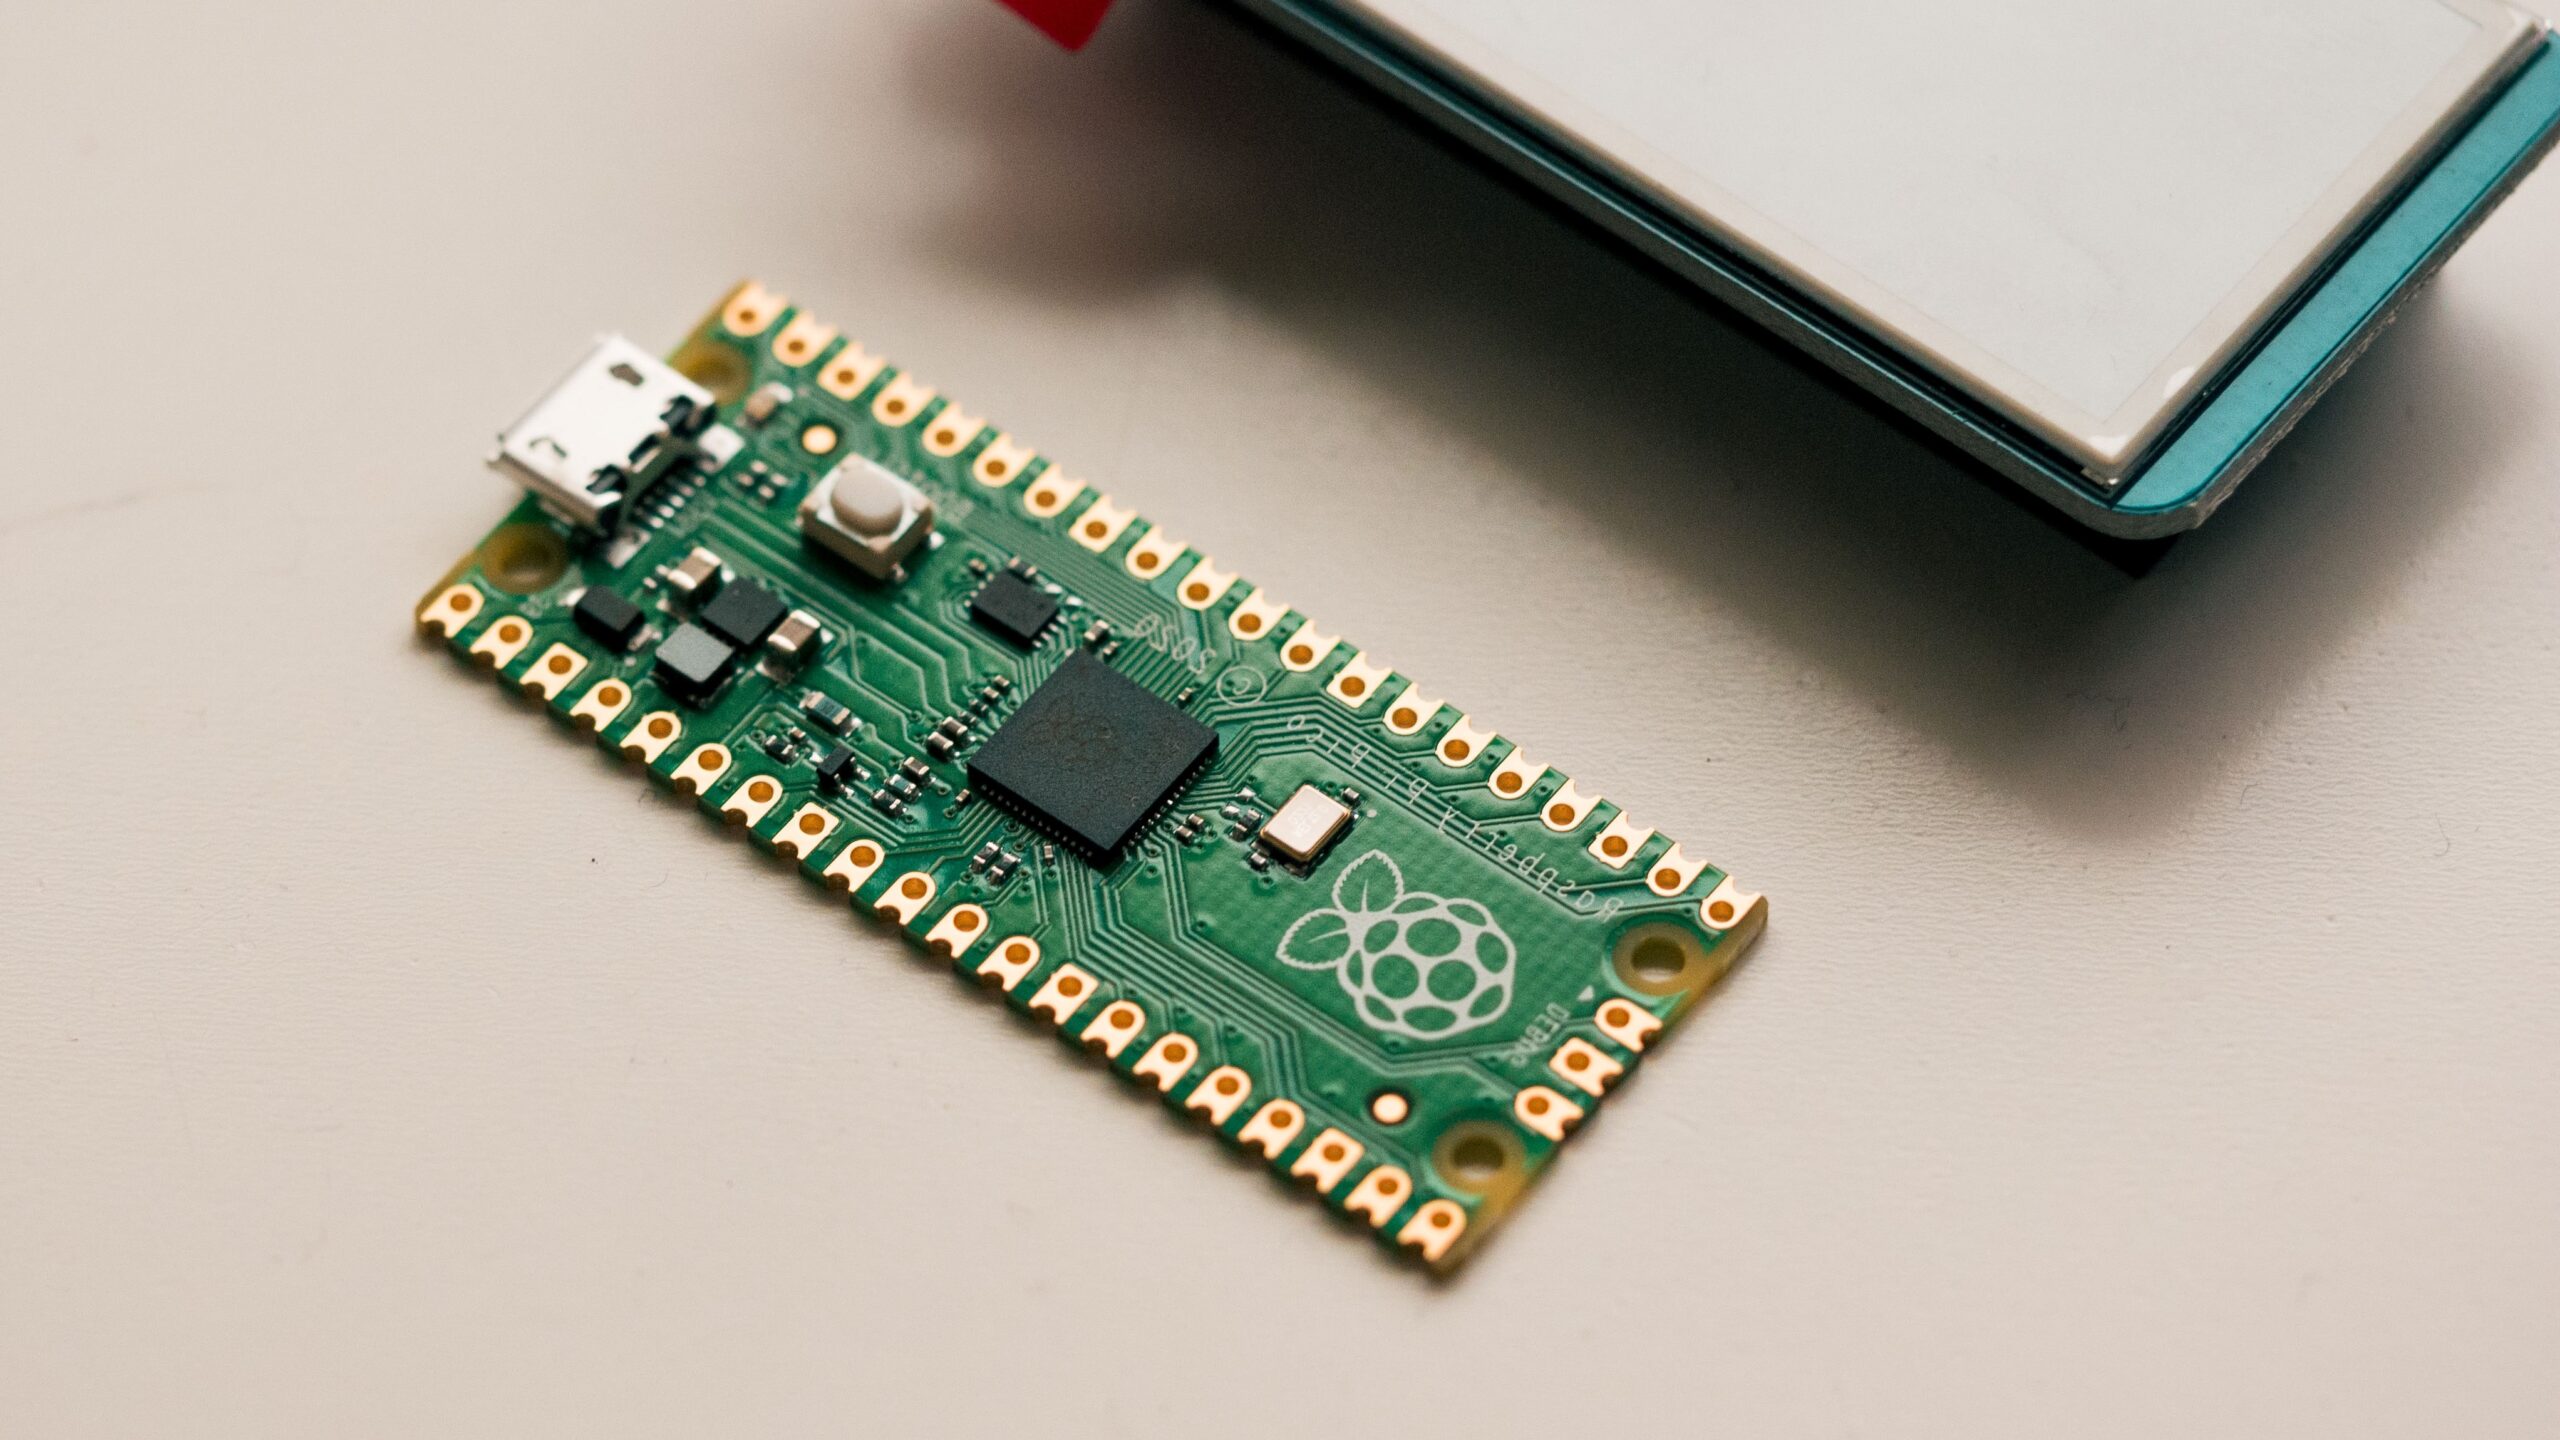
I am sure, by now most of you are familiar with Raspberry Pi Pico. Built by the Raspberry Pi foundation, Pico is their first microcontroller based on RP2040. In this article, we will see what Raspberry Pi Pico is, Its specifications, and how to program it.
What is Raspberry Pi Pico?

Based on RP2040, Pico is the first attempt by the Raspberry Pi Foundation to entire into the world of Microcontrollers. This tiny board comes packed with a punch for only $4, here is a list of all the technical specifications:
- 21 mm × 51 mm form factor.
- RP2040 microcontroller chip designed by Raspberry Pi.
- Dual-core Arm Cortex-M0+ processor, flexible clock running up to 133 MHz.
- 264KB on-chip SRAM.
- 2MB onboard QSPI Flash.
- 26 multifunction GPIO pins, including 3 analogue inputs
- 2 × UART, 2 × SPI controllers, 2 × I2C controllers, 16 × PWM channels
- 1 × USB 1.1 controller and PHY, with host and device support
- 8 × Programmable I/O (PIO) state machines for custom peripheral support
- Supported input power 1.8–5.5V DC
- Operating temperature -20°C to +85°C
- Onboard Temperature sensor.
You can buy one for yourself from: Amazon US / Amazon IN
More information about Pico can be found in the official datasheet.
Programming Raspberry Pi Pico.
To program Raspberry Pi Pico we need to set up some things. As Raspberry Pi is compatible with MicroPython, it is fairly simple to program. Follow the steps given below.
- Head over to this link and go to the MicroPython tab.

- Now Down the UF2 file. We need this file to install MicroPython on our Raspberry Pi Pico.

- Next press and hold the ‘BOOTSEL’ button on the Pico and connect the USB. It is very important to hold down the button while you connect, this will open the Pico as a USB storage device.

- All we need to do now is, copy the UF2 file we downloaded in the previous step and paste it into the Pico Storage. The Pico will reboot and it is now ready to be programmed.
- Now we need an IDE to write and upload the code to our Microcontroller. For we will use Thonny IDE. To download Thonny, head over to their official website and download the latest version for your OS.

- After downloading and installing Thonny, Open it and navigate to Tools >> Options. You should see a popup window. Here select “Interpreter”. From the Drop down menu select “MicroPython (Raspberry Pi Pico)” and Click on “OK”.

- You should see a shell similar to:

- For our first code, we will as usual do a blink. Write the following code:
from machine import Pin, Timer

LED = Pin(25, Pin.OUT)
LED_state = True
time = Timer()

def blink(Timer):
    global LED, LED_state
    LED_state = not LED_state
    LED.value(LED_state)

time.init(freq=1, mode=Timer.PERIODIC, callback=blink)
NOTE: Be aware of the indentations as Python is very strict about it.
- To save the file, you can click on the save icon in the top left menu or press “CTRL + S”.
- You will see a pop-up window asking you where to save the file. Select Raspberry Pi Pico.

- After selecting the storage, name the file “Blink.py” and select ok. Now to run the code just press “F5” or click on the Run icon.
Conclusion.
Running the code will cause the built-in LED to blink.

This tutorial covers the basics of getting started with Raspberry Pi Pico. There is no bound to what you can do with this little board. In future, we will see many more projects using Pico. For now, I hope this post helped you to set up and use your first microcontroller from Raspberry Pi.
Here are some other guides that might come in handy for beginners:


One thought on “Getting Started With Rasberry Pi Pico.”