Robotics is one of the most exciting fields of engineering today. With numerous technological advancements, robots are increasingly becoming a part of our daily lives. Therefore, it is crucial for children to learn about this technology and prepare for the future. In the past, we have seen several robotic STEM kits like the “Pluto Drone for STEM Education” and the “Perseverance Rover Kit“
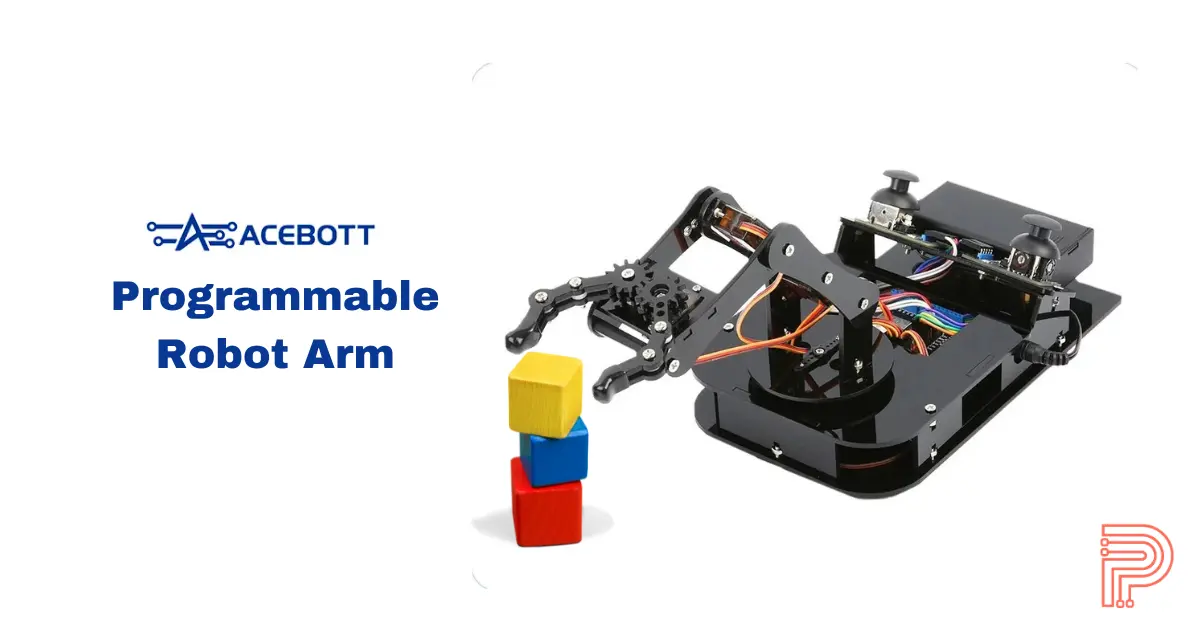
Today, I will be sharing about another STEM education kit a Programmable Robot Arm Kit based on the ESP32. So, let’s dive right in!
Introduction to Acebott robot arm.
Acebott is a technology company based in China that specializes in developing STEM education kits centred around Arduino and their proprietary platform, ACECode. Today, I’ll be sharing my experience with the ESP32-based robotic arm. Initially, I planned to create a step-by-step tutorial on assembling and getting started with the kit. However, while exploring the Acebott website, I found a comprehensive how-to guide that is exceptionally well-structured. If you’ve already purchased the kit, I highly recommend checking it out here.
Specifications:
Here are some technical specifications about the robot arm.
| DoF (Degrees of Freedom) | 4 |
| Material | Acralyic |
| Controller | ESP32 |
| Motors/Actuators | MG90 Servos x 4 |
| Softwrare | Arduino/AceCode |
| Application Support | Hardware interface, Web page and phone app. |
The main controller of this kit is an ESP32-based board designed by Acebott, which shares a similar form factor with the Arduino UNO. It provides all the necessary pins for this build, along with additional pins for future tinkering. Below is a detailed pin diagram of the controller board for your reference.

What’s the Price and Where to Purchase?
I received this kit as a review unit by Acebott, If you want to get one for yourself you can buy one from the official Acebott store or Amazon.
| Amazon Link | $59.99 |
| Acebott Store Link | $49.99 |
What’s in the box?
The box comes with everything we need to put together a functional 4DoF robotic arm. Below you can see all parts of the kit.

All the parts come in properly labelled bags. However, I noticed a few items missing, like the copper pillars. The material lists 9 pieces, but I only received 4, which are all you need for the assembly. Similarly, The Coloured blocks are supposed to be 4 but I only found 3 in the box.
Note: This kit requires an external power source, which is not included in the box. However, it does come with a two-cell battery holder for 18650 Li-ion cells.
Assembling the robot arm.
The assembly was fairly straightforward for the most part, thanks to the detailed step-by-step guide provided by Acebott on their website. As I mentioned earlier, I originally planned to share a how-to guide, but since theirs is so well put together, I’ll focus on sharing my experience with it instead.

The assembly took me about an hour, which I’d say is reasonable given the number of parts. Thanks to the guide, it was simple and easy to follow. That said, I did encounter a few minor issues when connecting some of the smaller screws, as they were tiny and in tight spaces.
The parts are made of Acrylic and are very sturdy. The electronics fit in well and all the required tools are provided in the box!
Software and Programming.
We have two options for programming this robotic arm. First, there’s Acebott’s proprietary block programming interface, ACECode, an interactive and beginner-friendly software designed especially for children. Alternatively, we can use the Arduino IDE, which provides more versatile control for seasoned tinkerers and hobbyists.
The how-to guide provides detailed instructions on setting up the software. It’s essential to follow each step precisely, or you may run into issues. For example, I mistakenly installed the latest version of the ESP32 board files in Arduino IDE, which aren’t yet supported by the libraries used by the arm. This led to significant troubleshooting until I carefully reread the guide and identified the issue.
Playing with the Robotic Arm.
After completing the assembly according to the instructions, the first thing I did was upload the program to control the robot using the joystick modules. The code for this is available in the guide for both Arduino IDE and ACECode software. Once uploaded the arm will move to the centre position and from there we can control its movements using the joysticks.
But that’s not all, as this controller board is based on ESP32, we have wireless capabilities. So in the guide, you will also find code to control the arm using a web interface or a smartphone app.
The robotic arm offers several control options:
- Analog Control: Use the joystick module for direct manual control.
- Web Interface Control: Operate the arm remotely through a web interface.
- Smartphone App: Control the arm via a smartphone app with multiple modes.
- Memory Mode: Record actions and play them back for repeated tasks.
- Inverse Kinematics: Enables precise positioning and movement control.
These features make it an excellent learning tool for both students and hobbyists alike.
Final Verdict:
Cons:
Starting with the cons, as the list is fairly short: First, while the kit is excellent overall, the tiny screws and nuts can be tricky to install—especially for larger fingers. Second, the outdated libraries caused me hours of troubleshooting (although this was partly my mistake for not following the instructions closely).
Pros:
- Low-Cost STEM Education Kit: Affordable and accessible for a wide range of learners.
- Easy Assembly: Straightforward to put together, even for beginners.
- User-Friendly Guide: Detailed instructions make setup smooth.
- Multiple Control Options: Offers versatility and fosters creativity.
With that, I conclude this article. I hope you found it informative! Feel free to share your thoughts on this kit in the comments section, and let me know if you’d like to see tutorials on any specific features.

